How to Maintain Your Blog Posts for Accessibility and Why it is Important

Billions of users worldwide use the internet but not every user is the same. According to Reciteme, 20% of users use assistive technology to access the web. To allow them to use that technology, people who work on websites need to make their web pages accessible by applying best practices. That includes doing things like providing alt text to images, using font sizes that are big enough to read, and making your design responsive.
Blogs contain tons of information that users benefit from. Whether you are doing product reviews, answering questions, or providing other educational information, you need to make that information accessible. This post will discuss why accessibility is important, what issues to check for, and how to identify accessibility issues.
Why Accessibility is Important
Here are the reasons why your blog must be accessible.
Serving Different Needs
As mentioned above, users have different needs and use the internet in a variety of ways, including using assistive technology to get around. People can have a range of disabilities and webpages should cater to them. It may not always be possible to cover every single case, but it’s still a good idea to make content as accessible as possible. It’s a nice thing to do and improves everyone’s experience.
Improving SEO
Making your blog post accessible is also good for improving web metrics. The text you add for accessibility purposes can improve your SEO as search engines can use that information to understand your website. By improving your SEO, your content will be more likely to show up on search engine results and therefore, it could result in improved website statistics.
Increasing Potential Sales
In a 2016 survey by Click-Away Pound, 71% of customers with access needs clicked away from a website because they found it difficult to use. Those people had an estimated spending power of £11.75 billion in the UK. With that, imagine what income your blog would possibly lose out on if it was inaccessible. Instead of those users enjoying your content, they may choose to click away.
Legal Reasons
Failing to comply with web accessibility standards could also be illegal. By failing to make your website or blog accessible, you risk facing fines. For example, in Canada, non-compliance with accessibility standards could result in a fine of up to $250,000. Check with your country’s or region’s laws to see what they say about website accessibility and the consequences you may face.
Accessibility Issues to Check for Blog Posts
Alt Text for Images
W3 Reference: Images Tutorial
Images can complement your text content by providing visuals to help the reader understand it. Certain users, however, will not be able to see those images. Therefore, you need to provide an alternate description that describes the image. Be sure to describe the image as clearly as you can. Here’s a quick resource that explains how to write good alt text by Harvard University.

Note: If the image is for decorative purposes only, you do not need to provide an alternate text description.
Alternative Ways of Consuming Content for Videos
W3 Reference: Making Audio and Video Media Accessible
Similar to how alternate text is needed for images, you will also need an alternate way of consuming video content. Include subtitles so people can read any spoken words or provide a text description of the video’s content if the user cannot load the video.
For subtitles, if it is your video, you can either use a video editor to add subtitles, or your video host can provide them. YouTube offers automatic captions when available or you can use their captioning feature to add your own. You can also provide a transcript for the user to follow along marked with timestamps to indicate when words are spoken in a video.
Color Contrasts
W3 Reference: Contrast (Minimum)
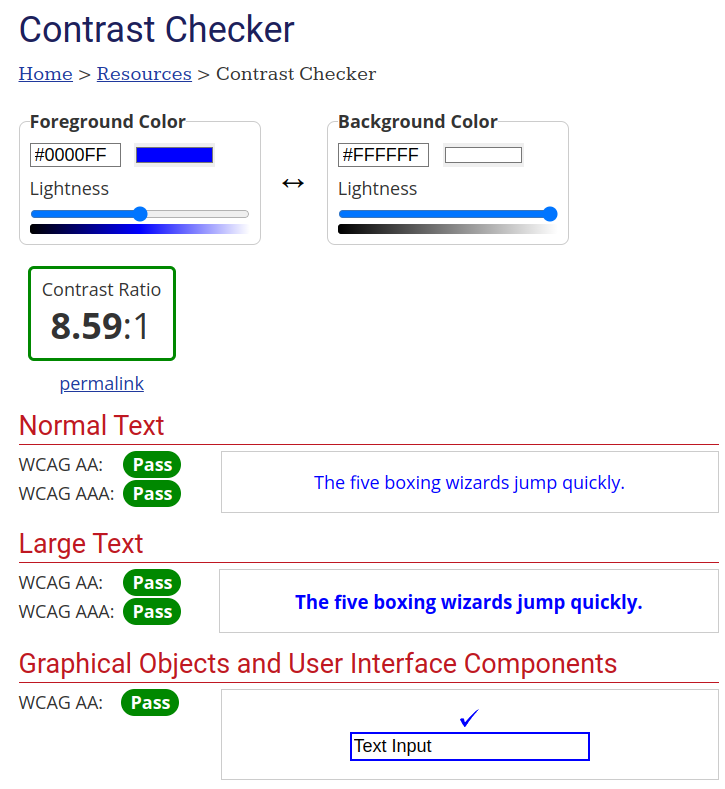
Color contrast is how different the colors go together. The more different the colors are, the higher the color contrast is. For websites, color contrast refers to how different a font’s color is from the color of the background it is on. There must be enough contrast between the font color and its background to ensure the font is readable.
According to WCAG 2.1, to achieve level AA accessibility, the contrast ratio needs to be at least 4.5:1 for normal text and 3:1 for large text. To check for the contrast ratio, use a contrast checker such as the one provided by WebAIM.
Font Size
W3 References: Resize Text
Your font should be big enough that it can be read by many people. There is no exact font size that is recommended by WCAG 2.1. Instead, it recommends that text should be able to be resized to up to 200% without losing content or functionality. As for picking an ideal font size, some sources will say that a good starting point for font size is 16px, but pick a reasonable size in general.
Links
W3 References: Link Purpose (In Context), Link Purpose (Link Only)
Link Purpose
The user should be able to tell where a link will lead them to. For example, if a link leads to an online store, the link should be properly labeled so that the user knows its destination. There are exceptions if the links are supposed to be obscure or ambiguous. However, in those cases, their placement should still be logical.
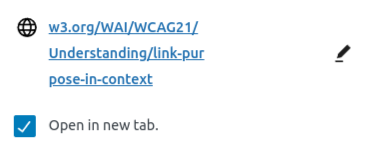
Opening External Links in a New Tab
When providing links, be sure to have them open in a new tab when a user clicks on them. This lets the user visit the linked page without leaving your blog post. Post editors should have a feature that lets you select a link and allow you to set it to open in a new tab.
Orders of Headings
W3 Resource: Section Headings
Headings should be placed in order of size, with the blog title using a heading 1, and therefore, section titles should start with a heading 2. Subtitles after that should use heading 3, heading 4, and so on. This is so screen readers can understand the order of the hierarchy of titles and if a section belongs to another section or is a section of its own. If you skip a heading level, it may confuse the screen reader and therefore, the user.
Responsive Design
Responsive design refers to how a webpage appears on a device’s screen. It is responsive if a webpage can render itself differently to fit a particular screen size. As many users browse the internet on their phones, websites should display properly on a variety of devices.
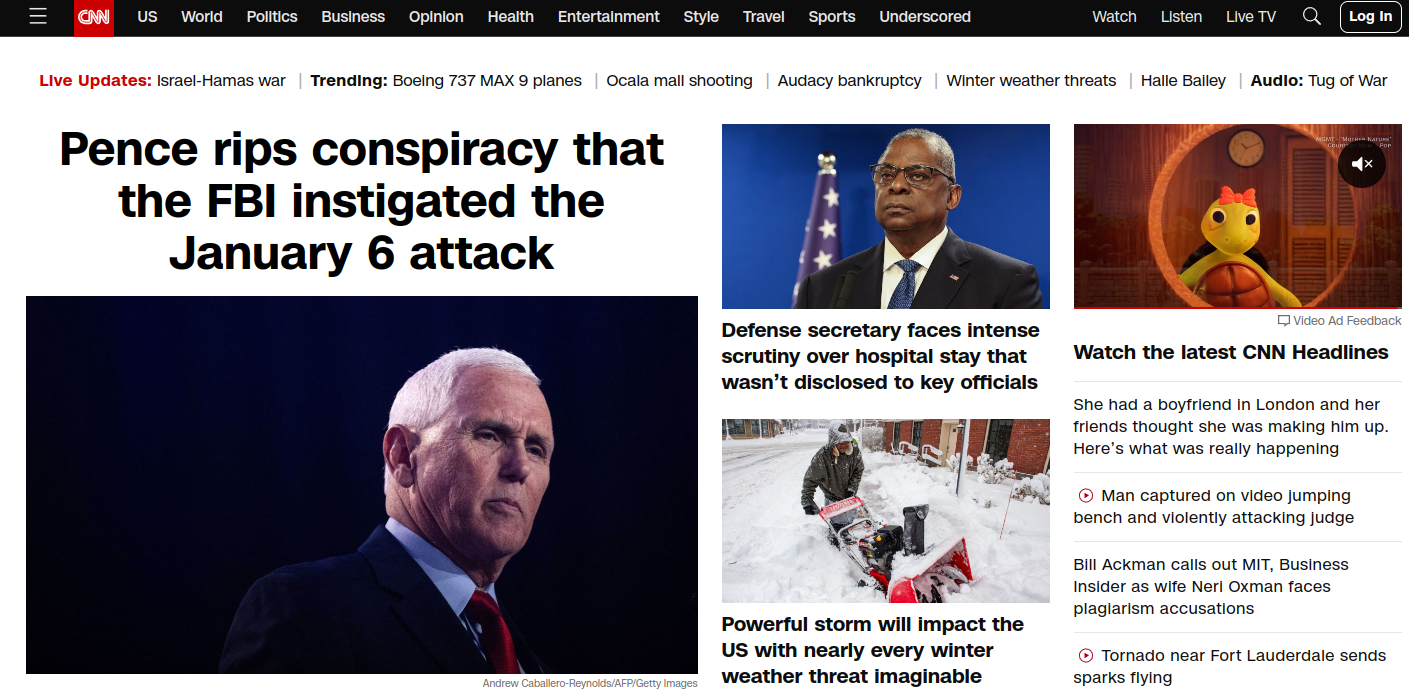
Many blog layouts nowadays are designed to be responsive. To check for responsiveness, open your browser’s developer tools and drag the bottom right corner of the screen inward or outward to change the size of your screen. As your screen grows or shrinks, web elements should change as your screen size reaches certain widths. Those points are breakpoints. An example of a change could be a website that uses a multi-column layout on desktop uses a single-column layout on smaller devices. CNN’s website is an example of this.

If your blog layout isn’t fully responsive, either replace it with a new theme or modify it accordingly. For some ways to make your content accessible, check out this w3schools article about it.
Loading Times
Webpages should load reasonably quickly for all users, regardless of the quality of their internet. There are a few ways to improve your page loading time:
- Optimizing your images.
- Minify CSS and JavaScript files.
- Limit the blog’s use of external scripts and plugins.
- Verify that your blog’s server can handle the amount of traffic it receives.
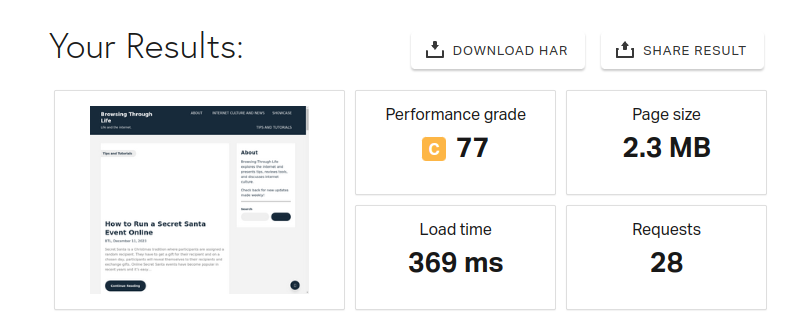
If you want to know how long it takes for your page to load, use a speed test such as Pingdom’s speed test.
How to Check for Accessibility Issues
There are several accessibility issues to check for, there are a few ways to check for them quickly.
Extensions
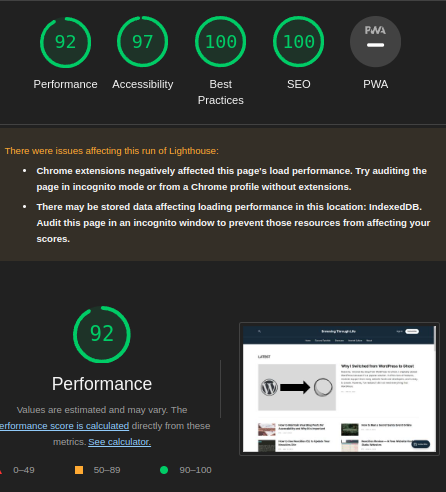
You can install browser extensions to scan your blog for accessibility issues. One example is an extension that comes with Chrome-based browsers called Lighthouse. To use Lighthouse, open up your developer tools and find the Lighthouse tab. From there, you can run a scan and have it check your blog for you. Other solutions are available, which you can find on your browser’s respective extension store.
Websites
Some websites run accessibility audits as a service. They can be free or paid and come with a variety of tools. These tools include scheduled scans and metrics, which can immediately provide an overview of accessibility issues and solutions.
Plugins
Depending on what platform you use, there could be plugins that provide information on accessibility issues. You can search for them in your respective platform’s plugin repository and see which solution works for you. However, just be sure that the plugin will not affect your performance.
Manually Checking the Page
To ensure your blog content is accessible, go through your blog content and make sure you have addressed every possible issue. This will involve checking all web elements, whether headings, media content, or colors. Take the time to comb through your content and keep in mind the issues mentioned in this article and any other issues.
Conclusion
There are more things you can do to improve the accessibility of your blog, but the issues mentioned above are common accessibility issues with blog posts. Incorporate checking your blog and its contents for accessibility as a routine procedure to optimize your accessibility scores and fix problems when you find them. By doing that, you will improve your blog, which can lead to better results.